
This post may contain affiliate links. If you make a purchase through them, Smart Ops may earn a commission at no extra cost to you.
You don’t need to be “technical” to automate your business
If the words “small business automation” makes you think of code, developers, or IT departments — that’s the biggest myth standing between you and hours of time back every week. You don’t need any of that. You need one repetitive task, one beginner-friendly tool, and about 30 minutes to set it up.
For me, convenience is everything — realizing there were tools that could save time, energy, and ultimately money was my cue to start automating. I took longer than I should have to actually delve in, mostly because I assumed I’d first need to learn some programming — which was, incidentally, not my best-performed unit back in university. That realization — that saving time didn’t require coding — is really the whole idea behind small business automation.
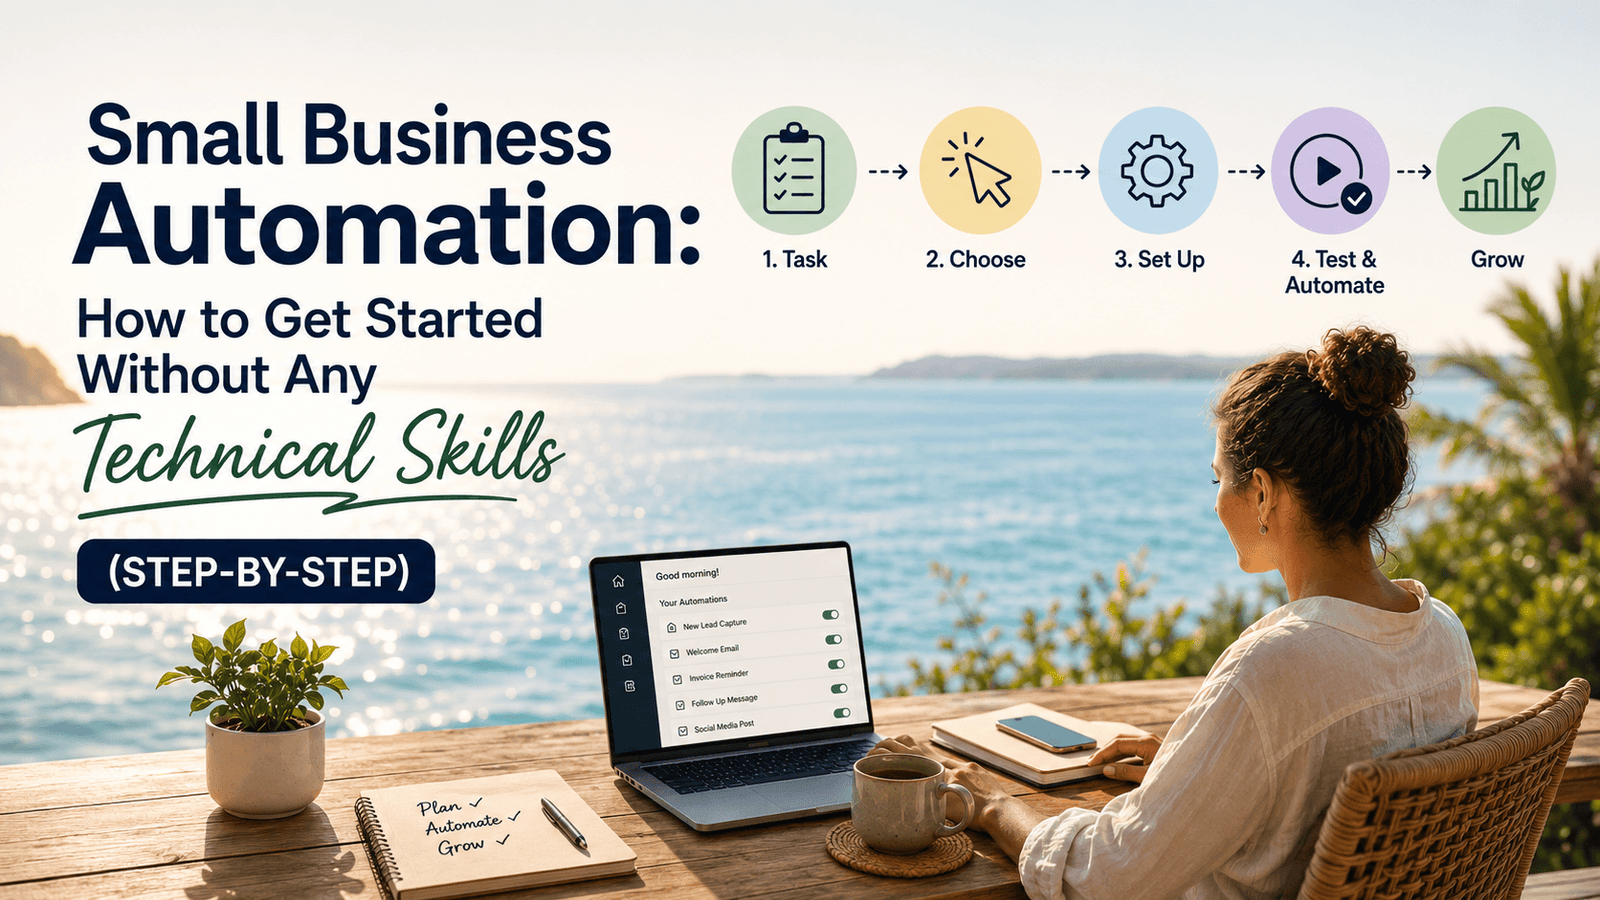
This guide walks through exactly how to get started, step by step.
Why “I’m not technical” shouldn’t stop you
Most small business automation tools today are visual — built with drag-and-drop interfaces specifically so non-coders can set up workflows without writing a single line of code. If you’ve ever built a spreadsheet formula, set a phone alarm, or created a playlist, you already have the exact skill these tools require: following a simple logical sequence, not programming.
The fear of “getting it wrong” is usually bigger than the actual risk. Most tools let you test an automation safely before it goes live, so there’s no way to break anything permanently while you’re learning.
Step 1 — Pick one repetitive task to automate first
Don’t try to automate your entire business at once. Pick one task that meets these criteria:
- You do it often (daily or weekly)
- It follows the exact same steps every time
- It’s tedious, not judgment-heavy
Common first choices for small businesses:
- Sending a welcome email to new subscribers or clients
- Generating and sending recurring invoices
- Following up with leads who haven’t responded in a few days
- Posting to social media on a schedule
Where to start really depends on your biggest pain point. For a business with several recurring weekly or monthly billing clients, generating and sending invoices automatically is the clear priority. For a business converting under 10% of its leads, an automatic welcome email to new subscribers or clients can meaningfully cut down the hours spent on customer relations. As a business grows, all four of these become relevant — which is exactly what we’re finding at Smart Ops.
Step 2 — Choose a beginner-friendly tool
Once you know what you’re automating, pick a tool built for beginners rather than one built for technical teams. Look for:
- A free tier to test before paying
- A visual, drag-and-drop builder — no code editor in sight
- Templates for common automations, so you’re not starting from a blank page
Zapier is a common starting point for exactly this reason — it connects everyday tools (email, spreadsheets, forms, CRMs) through simple “if this happens, do that” rules, with pre-built templates for the most common small business automations. Zapier
Step 3 — Set up your first automation (a simple walkthrough)
Here’s what setting up a basic automation actually looks like, using a common example — automatically emailing yourself when someone fills out a contact form:
- Pick your trigger — the event that starts the automation (someone submits your contact form)
- Pick your action — what happens as a result (you receive an email notification)
- Connect the two apps — link your form tool and your email inbox inside the automation platform
- Test it — submit a test entry yourself and confirm the email arrives
- Turn it on — once the test works, activate the automation so it runs automatically going forward
That’s the entire structure behind almost every automation, no matter how complex it eventually becomes: a trigger, an action, and a connection between two tools.
Here’s what that looks like in practice at Smart Ops: Trigger: A new blog post is published on WordPress Action: Automatically creates a draft social post or Pinterest pin reminder, so promoting a new post isn’t something we have to remember to do manually.
Step 4 — Test it, then expand
Give your first automation a quick trial run before it touches real clients or real money — submit a test form, use a test email address, send a small test invoice. It takes a couple of minutes, and it’s the difference between trusting your automation and just hoping it works.
Once your first automation is working reliably, resist the urge to build five more immediately. Let it run for a week, confirm it’s saving the time you expected, then move to your next repetitive task.
Common mistakes beginners make (and how to avoid them)
Most first-time automation attempts don’t fail because the tool was too complicated — they fail because of a handful of avoidable habits:
- Trying to automate everything at once. It’s tempting to build five workflows in your first sitting. Instead, get one working reliably before starting the next — a shaky foundation of five half-tested automations causes more problems than it solves.
- Skipping the test step. It’s the step most beginners are tempted to rush past, since the automation “looks” right. But a small error in a trigger or connection can send the wrong email to a real client, or generate an incorrect invoice, if it goes live untested.
- Choosing a tool built for a bigger team than yours. Enterprise-grade platforms often come with a steeper learning curve and features you won’t touch for years. Starting with a beginner-friendly, visual tool means less time spent in setup and more time seeing results.
- Forgetting to check in on it later. An automation isn’t “set and forget” forever — a form field changes, an app updates, or a business process shifts, and a workflow that worked perfectly for months can quietly break. A quick monthly check keeps things running as expected.
None of these mistakes are signs you’re “bad at” automation — they’re just the normal learning curve, and knowing them in advance means you’re less likely to hit them yourself.
What to automate next, once your first one is working
Once your first automation has run smoothly for a week or two, the next step isn’t to build everything at once — it’s to layer in the automation that logically follows the first:
- If you automated invoicing first, a natural next step is automating payment reminders for invoices that haven’t been settled after a set number of days.
- If you automated a welcome email first, consider adding a short follow-up sequence a few days later, checking in with new subscribers or clients who haven’t taken the next step.
- If you automated social media posting first, look at automating basic engagement tracking — a simple weekly summary of what performed well, so you’re not manually checking analytics.
Each new automation should solve a problem you’ve actually felt, not one you’re adding for the sake of it. Building this way — one proven automation at a time — is how a genuinely useful, low-maintenance system gets built, rather than a pile of workflows nobody fully understands six months later.
Ready to compare tools?
Now that you’ve got your first small business automation running, the natural next step is finding the right tool for your specific stage and budget — not just the first one you tried. We’ve compared the top options for small businesses in 5 Best Business Automation Tools for Small Businesses 2026, covering price, ease of use, and who each tool is actually built for.
Affiliate disclosure: Some links in this post are affiliate links. If you make a purchase through them, Smart Ops may earn a commission at no extra cost to you.
Leave a Reply